This blog is a continuation in the series of blogs for implementing offline capability in PowerApps with SharePoint.
In the first part, we streamlined the process to enable and configure offline capabilities in your applications.
Here, we’ll determine the behavior of an offline app. We’ll look at how to cache data locally and display the cached data when the app becomes offline. We’ll develop a system to handle offline addition, updaAdd a new record in a mobile device when the internet connection is not available.ting, and deletion of data and build a conflict resolution screen, wherein SharePoint programmer can retain the offline record or revert to the most recent version of the record.
If you require your app to be fully functional offline, it is a must to handle offline record deletion and edit. Apart from that, in cases where you lose internet connectivity for an extended period of time, other users may update same records which you have deleted.
We can build a Conflict Resolution screen to prevent users from overwriting their changes and avoid data conflicts. In a case where data conflicts exist, the user can retain or discard offline changes using this screen.
Capture New Books or Update an Existing Record
There are numerous changes we need to make to save icon of the edit screen in order to handle offline data edits and data entries.
The approach is to override the use of SubmitForm function to save the book in the BooksCollection collection because we need to allocate a temporary id to enable us to edit or delete records created in offline mode.
Override code of the OnSelect property of Save icon containing SubmitForm function inside the edit screen.
Below are the high-level steps to accomplish this
- Assign values based on whether the user is adding or editing a record.
- Retrieve form values entered by user and access form values using Updates property.
- Load the next available temporary id.
- If the connection is available, update “Best Books” list and store returned record inside it. “BooksRecord” collection using Patch operation. Refer link to know more about Patch function: https://docs.microsoft.com/en-us/powerapps/maker/canvas-apps/functions/function-patch
- If the connection is not available, patch the record inside “BooksRecordOffline” collection.
- Uniquely identify records that are created offline by setting id which is generated earlier.
- Include “Modified” field for offline data updates to check for conflicts during the synchronization process.
- Sync “BooksCollection” collection.
- If connection is available, patch “BooksRecord” to “BooksCollection” collection.
- If the connection is not available, patch “BooksRecordOffline” collection.
Add a Record Offline
Carry out the demo given below to add a record in offline mode in a mobile device after configuring the whole app.
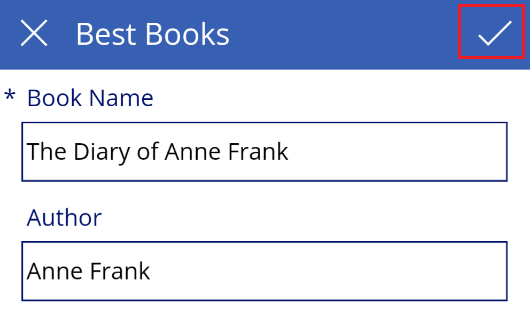
- Add a new record in a mobile device when the internet connection is not available.

- Add a “Book Name” and “Author” and click Submit icon. Close the app.
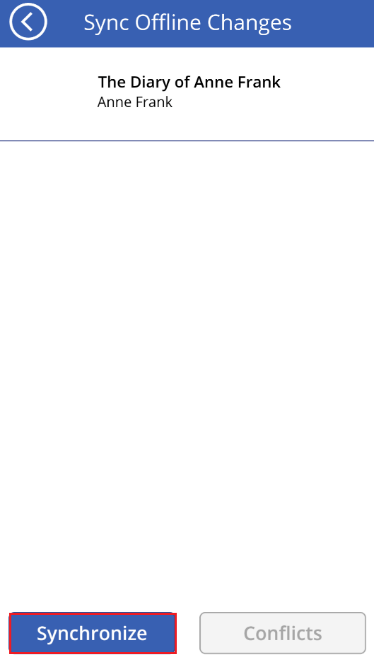
- Open the app when the internet connection is available and click on sync icon to navigate to SyncScreen.

- You can view the record you created in offline mode on the sync screen. Click on the Synchronize button to add the record to the database.
- Navigate to the browser screen by clicking Back button and click on Refresh icon to view the newly added record.

Update a Record Offline
Carry out the demo given below to update a record in offline mode in a mobile device after configuring the whole app.
- Navigate to details screen of a particular record to update its properties.
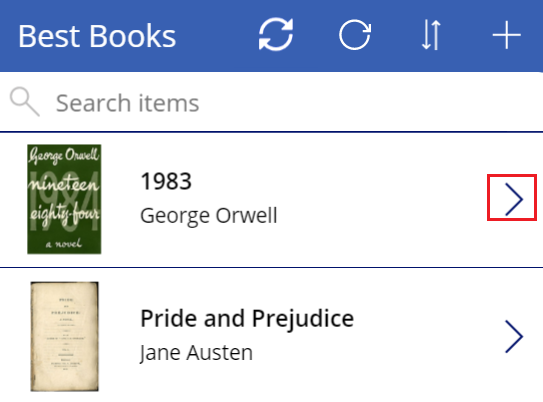
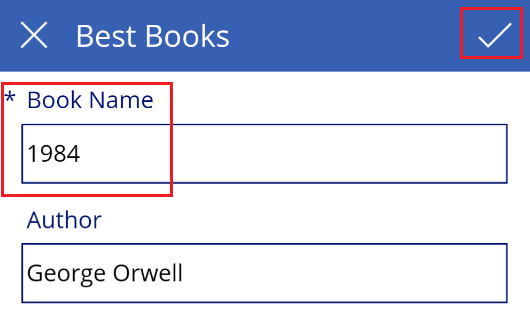
- Edit a record in offline mode from a mobile device.
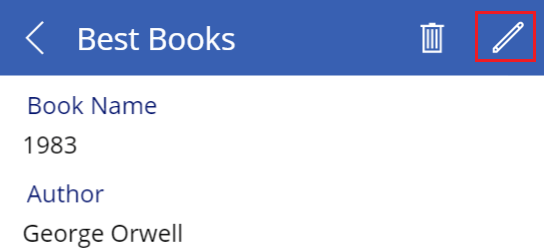
- Edit a field associated with the record and click on the Submit button. Close the app.
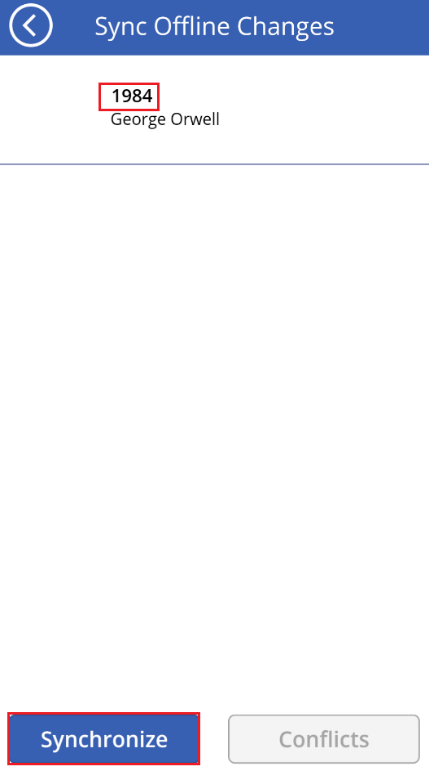
- Once the internet connection is available, open the app and click on Sync icon to navigate to sync screen.

- You can view record updates on the sync screen. Click Synchronize to apply the changes.
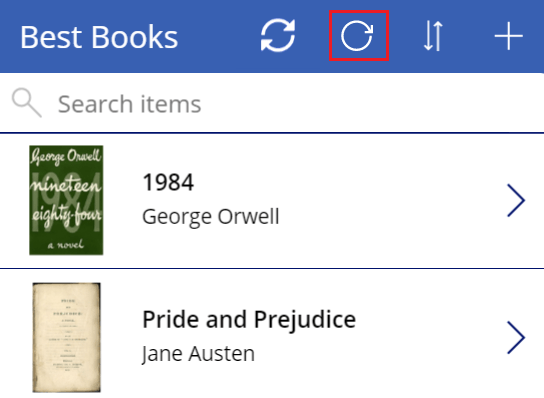
- Click Back icon and refresh the browse screen to view your changes.
Handling Offline Deletions
An app should handle offline deletion of data for it to meet all the functional requirements. The details screen provides a delete icon.
The most common way to delete an item from a local collection is to remove an item by a unique identifier.
We need to add code to the OnSelect rule of Delete icon on the details screen.
Below are the high-level steps to accomplish this:
- Remove record from local BooksCollection.
- Check whether the internet connection is available or not.
- If the connection is available, remove the record from “Best Books” list
- If the internet connection is not available, collect data in BooksChanges collection which keeps track of offline changes.
- Save data to offline file to retain an offline modifications.
Carry out the demo given below to delete record in offline mode in a mobile device after configuring the whole app.
- Navigate to details screen for a particular record.
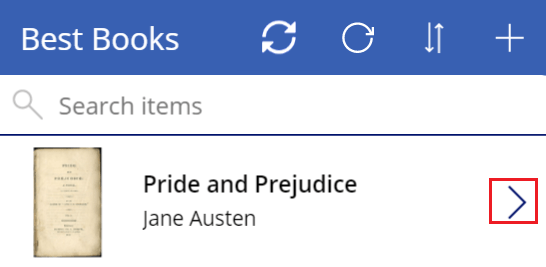
- Delete a record in offline mode from a mobile device.
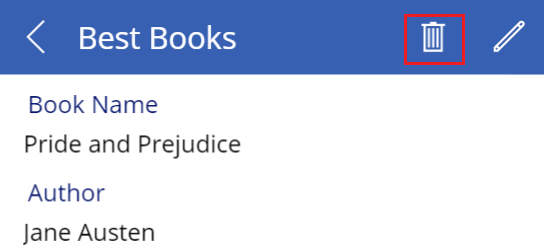
- Close the app and re-open “Best Books” app when the internet connection is available.
- Click sync icon to navigate to SyncScreen.

- You can view the record deleted in offline mode.
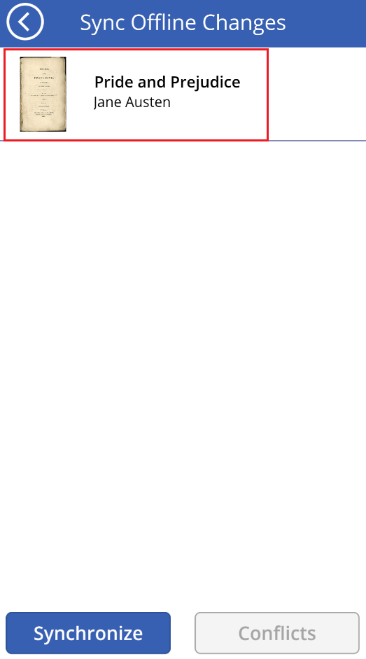
- Click the Synchronize button in order to process offline deleted record, click the Back button and then refresh the browser screen. You can see that the record is removed from the view. You can also check by navigating to the SharePoint list to check whether the record is deleted.
Conflict Resolution
We can create a screen to provide a means for users to resolve data conflicts if the synchronization process faces records in a conflicted state.
- Create a screen named “ConflictResolutionScreen” of type Scrollable. Delete the canvas inside the screen. Rename the label text at the top to “Resolve conflicts’. Remove “Next” arrow as it is not required.
- Add a gallery control of type Vertical inside the screen and adjust size of the control. Name the control “BooksConflict” and set its Item property to BooksChangesConflict.
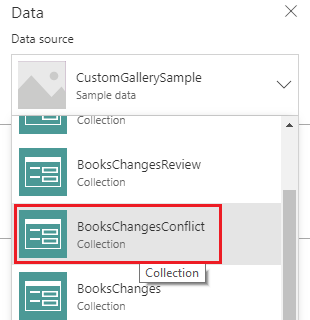
- Show the desired fields using the syntax ThisItem.OfflineRecord.<Fieldname>

- Similarly set Text properties of other two fields “Book Name” and “Author”
- Add two button controls named “Retain” and “Discard” to item of the gallery control to enable users to keep or discard offline changes. Add a “Back” button inside the screen
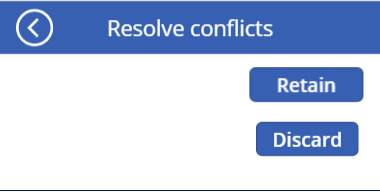
- Two button controls “Retain” and “Discard” are displayed for each conflicted item on the “ConflictResolutionScreen” screen.
- Add formula on the OnSelect property of the discard button to remove offline version of record to keep record server version.

- Patch the offline record to SharePoint list to keep offline version of record. For that, add code to OnSelect action of retain button on conflict resolution screen.
- Add formula to the OnSelect action of the back button on conflicts resolution screen to navigate on Sync screen.
Walkthrough for Resolving Conflicts
Carry out the demo given below to retain/discard conflicting records processed in offline mode in a mobile device after configuring the whole app.
- Navigate to details screen for a particular record and edit a record in offline mode from a mobile device.
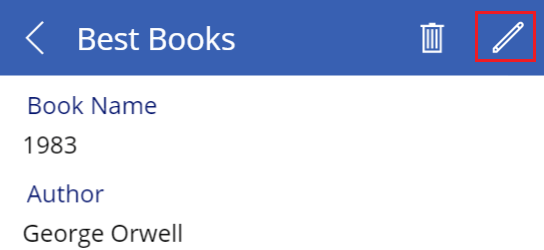
- Edit a field associated with the record and click on Submit button.
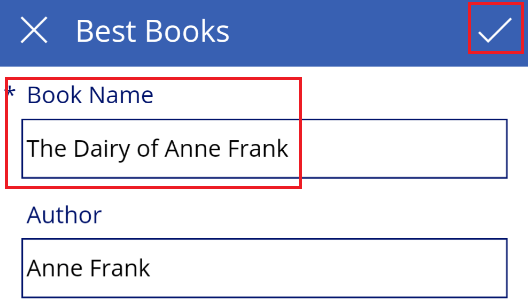
- Again delete the record for which you made update earlier. Close the app.

- Once the internet connection is available, click on Sync icon to navigate to sync screen.

- You can view conflicting records on the sync screen. Click on “Synchronize” button.
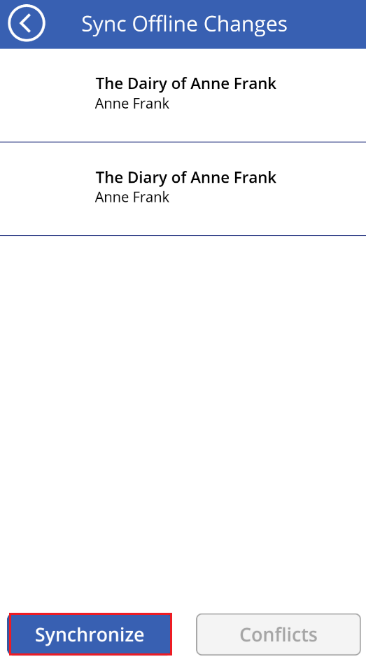
- Once you click on “Synchronize” button, “Conflicts” button is enabled and the conflicted records will be moved to conflict resolution screen. Click “Conflicts” button to resolve the conflicts.
Note: In the case of non-conflicting offline records, they will be processed into SharePoint list.
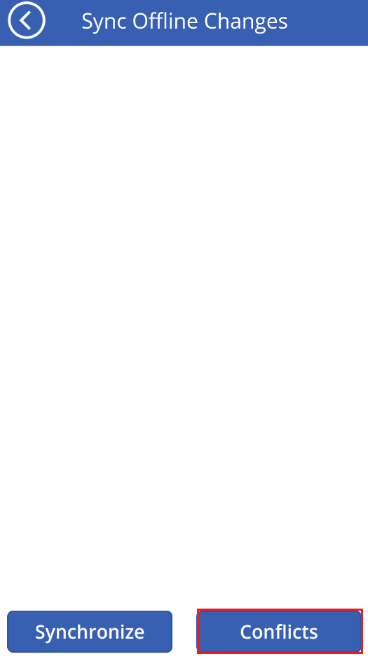
- On the conflict resolution screen, choose whether to discard or retain the changes for conflicting records.
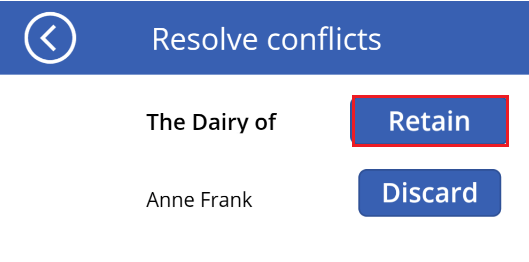
- If you click “Retain” button and select Refresh icon on the browser screen, it will keep the updates as shown below else if you click “Discard”, it will discard the changes.

Save and Publish your App
- Once you are done developing offline-capable PowerApp with SharePoint, open File menu and then click Save.
- Finally, Publish your app.
Once published, you can view your PowerApp and work with your SharePoint Online list from your phone.
We are done building PowerApp with basic offline capabilities with SharePoint Online list. Your user can now view books cached earlier and can even create, update and delete books without internet connection, and to sync later when online. Ensure that the user has to open “Best Books” app at least once on the mobile device, so that “Best Books” SharePoint list is cached.
Conclusion
Building offline capable apps can make SharePoint development even more engaging for mobile users, especially when SharePoint developers are traveling to remote places with spotty internet connection availability. This series of blogs guided through the steps to build capabilities in your app that work offline. Once an app becomes offline, the browser screen shows data that was cached earlier when app was online.
In case of offline data updates, we saw how to save changes to local file. Once the app retains internet connection, we can patch offline changes to SharePoint list.
We also had a look at how to handle data conflicts by examining last modified date of the record. We processed conflicting record to a collection, which allows users to choose whether to keep or discard conflicting offline changes.


Comments
Leave a message...